Buying gravel at a LFS or other retailer can be expensive. I’ve seen a 25 pound bag sell for $20.00 and a small 5 pound bag sell for nearly $3.00. You can go to your typical yard and garden/home improvement outlet (Home Depot, Lowe’s, etc.) and pay much less. I’ve paid less than $3.85 for a 25 pound bag of river rock and that included tax. I recently purchased a 25 pound bag of pea gravel for just over $4.00. If you’re prepared to put a little effort into cleaning you can save a lot of money.
Here is a step-by-step procedure I use to clean gravel.
First, you start out with your 25 pound sack of gravel.

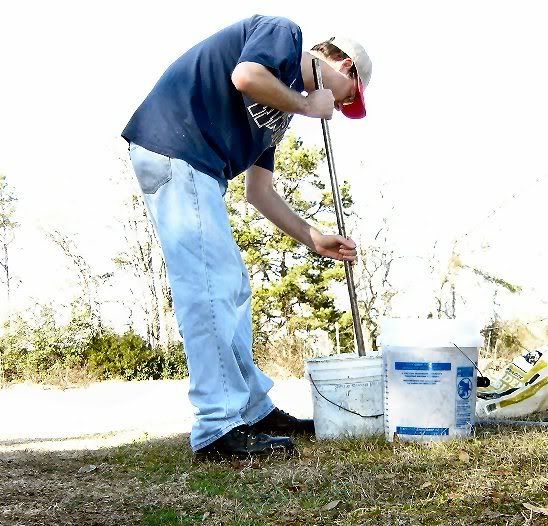
Make sure you have several buckets and something to agitate the water with. Having something like a colander is helpful to have, too.


I like to use several different buckets to wash equal parts of gravel. Stirring a bucketful of rock can be difficult and tiring.
The gravel you buy will be dirty…real dirty. Would you want to dump this into your aquarium?

Stick your water hose down into the gravel and turn on the water. In just a few seconds you will find out just how dirty your gravel is:

Pour out the water, and repeat the process. Then repeat…and repeat. Don’t worry, you’ll get the hang of it!
Stir the water real good:

Stir some more, pour out more water, add more…get the idea?

Now the water is starting to get clearer.

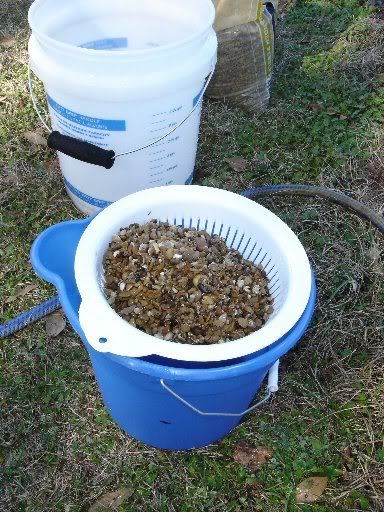
Once you get most of the dirt separated from the gravel and the water is mostly clear you can pour the gravel and water through a colander. The dirty water ends up in the bucket, and you can dump the clean gravel into another bucket.

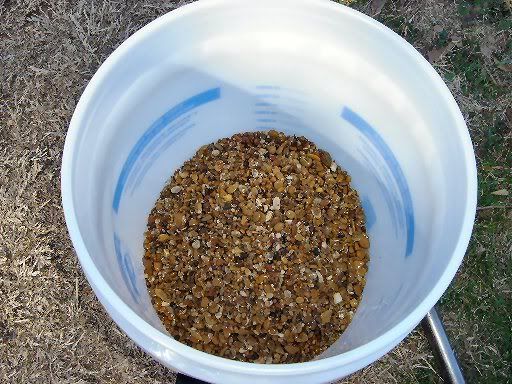
Clean gravel:

Here is a step-by-step procedure I use to clean gravel.
First, you start out with your 25 pound sack of gravel.

Make sure you have several buckets and something to agitate the water with. Having something like a colander is helpful to have, too.


I like to use several different buckets to wash equal parts of gravel. Stirring a bucketful of rock can be difficult and tiring.
The gravel you buy will be dirty…real dirty. Would you want to dump this into your aquarium?

Stick your water hose down into the gravel and turn on the water. In just a few seconds you will find out just how dirty your gravel is:

Pour out the water, and repeat the process. Then repeat…and repeat. Don’t worry, you’ll get the hang of it!
Stir the water real good:

Stir some more, pour out more water, add more…get the idea?

Now the water is starting to get clearer.

Once you get most of the dirt separated from the gravel and the water is mostly clear you can pour the gravel and water through a colander. The dirty water ends up in the bucket, and you can dump the clean gravel into another bucket.

Clean gravel:

Last edited:


