Journal: 55gal Planted Community

TwistedGA

Large Fish
May 24, 2008
106
0
0
Paducah, KY
#1
Hey everyone, I kind of skipped the whole intro thread thign and decided to go straight into a journal which is just as informative really. I remember people by the tank, not what they do for a living. Maybe it's just me, lol. *BOUNCINGS

We are currently housing our small community in a unplanted 10gallon tank, with no plant life. We've had several tanks setup including the 55 we're redoing now, it's been a long debate of keeping it fresh or going salt, we decided we'd want the saltwater to be much larger and on went the freshwater restoration. We only ever had a few plants in our tank, rooted in plain gravel, nothing special at all really. I'm planning to do a lot of reading on large plantings while the other projects take form over the next few weeks.

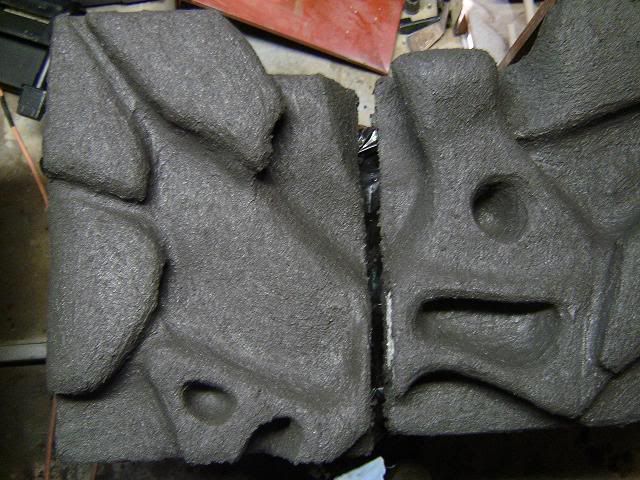
Currently we are working on setting up a 3d background for the tank, while it
consumes a lot of area in the tank, we think the effect it gives it and the built in caves should go over nicely with the chiclids also.

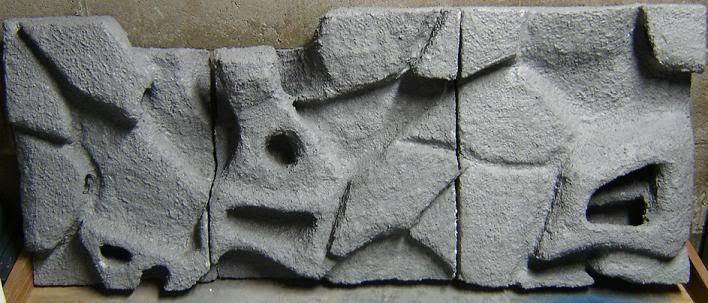
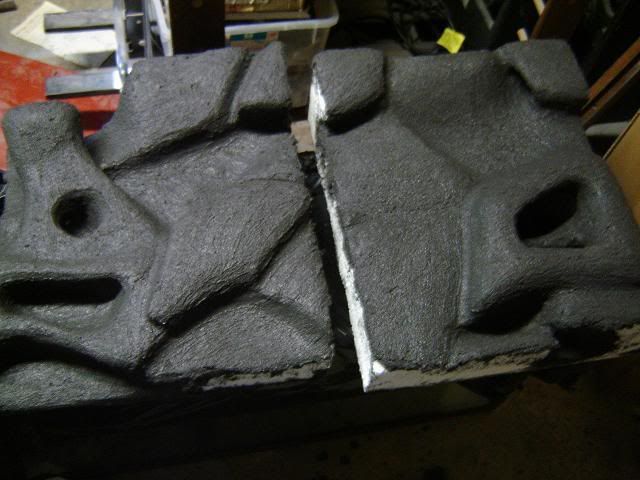
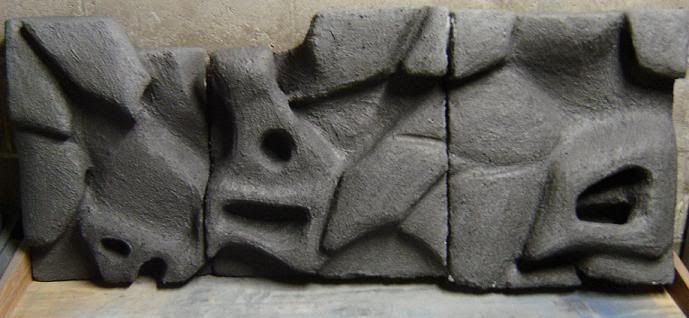
Here is the rough cut design waiting to be fitted into the tank;
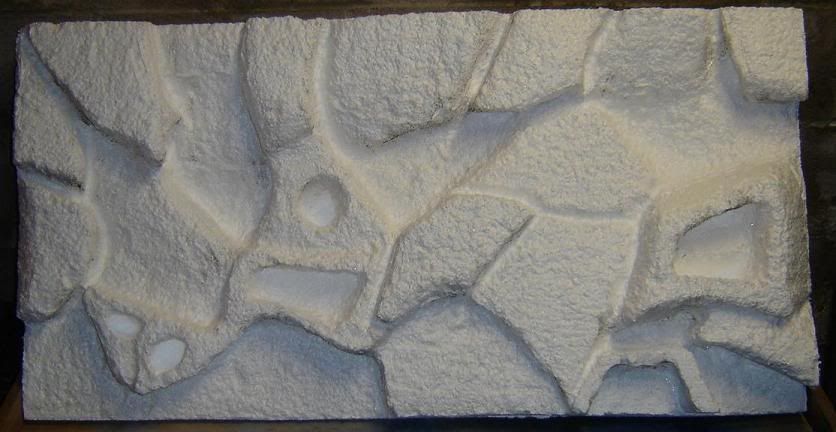
I didn't get shots of it fitted in the tank and with the filter cutout, but we got that done and the first coat of concrete on it. I'll update tomorrow. :) Comments and suggestions on planting and general info welcome. Thanks for reading!
 

Last edited:

TwistedGA

Large Fish
May 24, 2008
106
0
0
Paducah, KY
#3
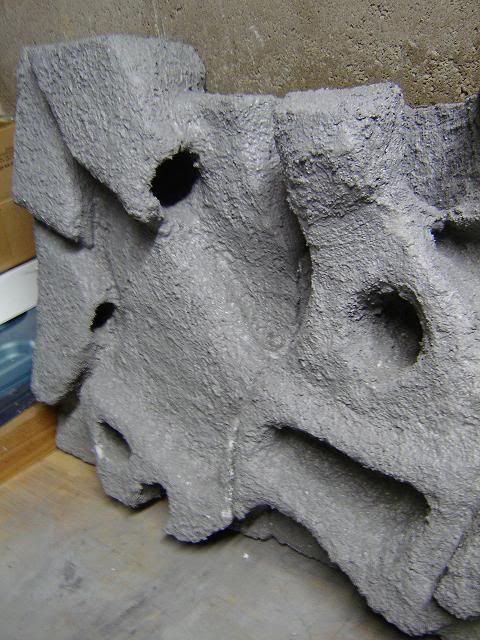
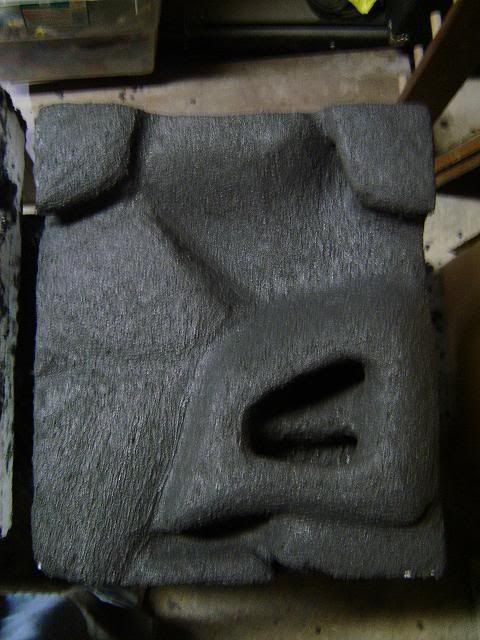
Sorry i didn't get these posted sooner, I got tied up with work at the shop. Thanks for reading what i did have haha, on with the updates.. A single coat of mortor mix applied, this shows the final design and cutout area for our HOB filter. I tried to hide it as much as possible without effecting it's function.

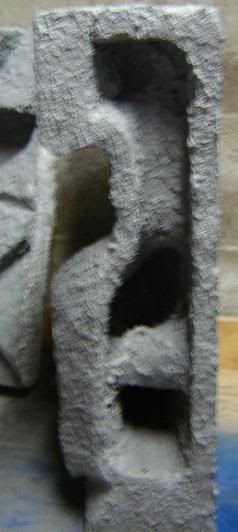
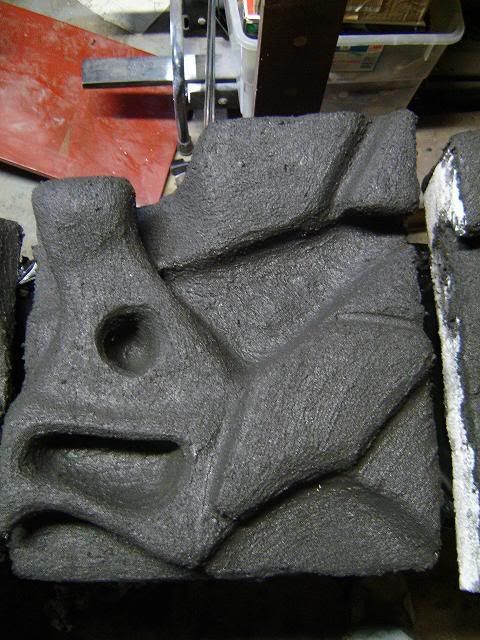
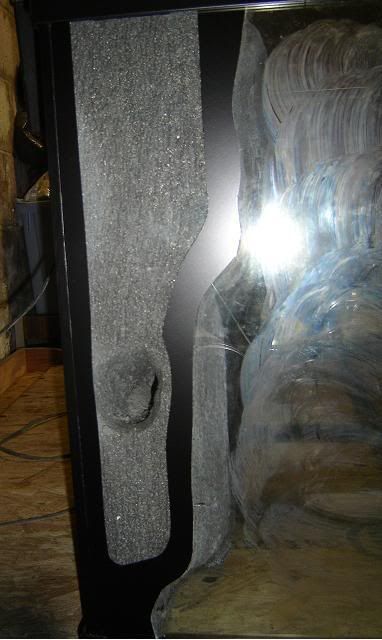
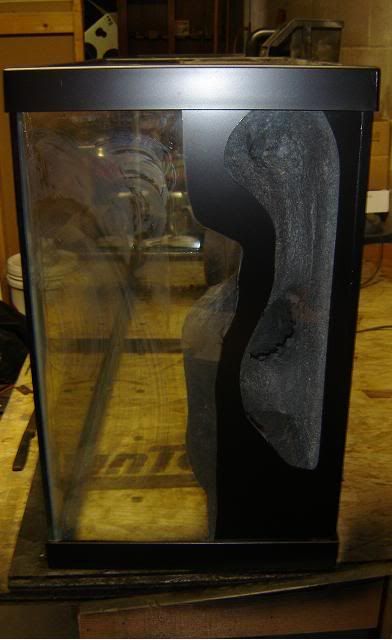
This is what you'll see from the right side of the tank, it allows you to view any fish that may be hiding in the caves, or just floated into them after death(we wanted to see them so we would atleast know they didn't get eatin, lol)

This shows the small caves done on the left side of the tank, all viewable from the side of the tank also..


I've also stripped about half the tank of it's silicone, soon as I get enough time to lay the second coat of mortor I'll strip the second half and go into resealing it. Thoughts and comments welcome. I've been doing more reading on planting tanks, haven't made any choices on anything yet, also been doing research on sump setups since we'll have the extra 10gal to play with now. Thanks again for reading, I'll post updates as they come.
 

Last edited:

TwistedGA

Large Fish
May 24, 2008
106
0
0
Paducah, KY
#6
Thanks Mike!

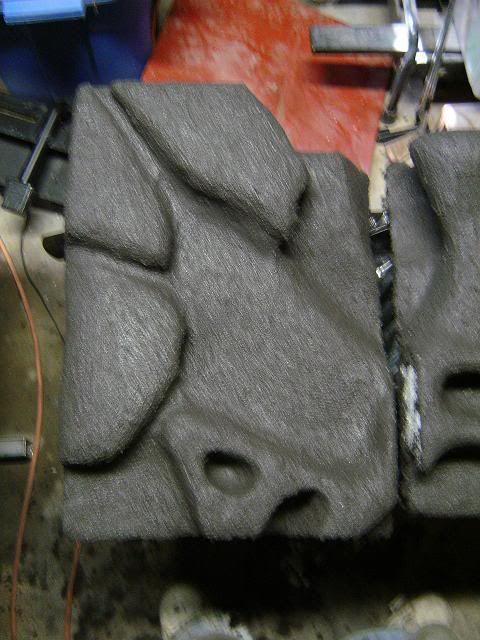
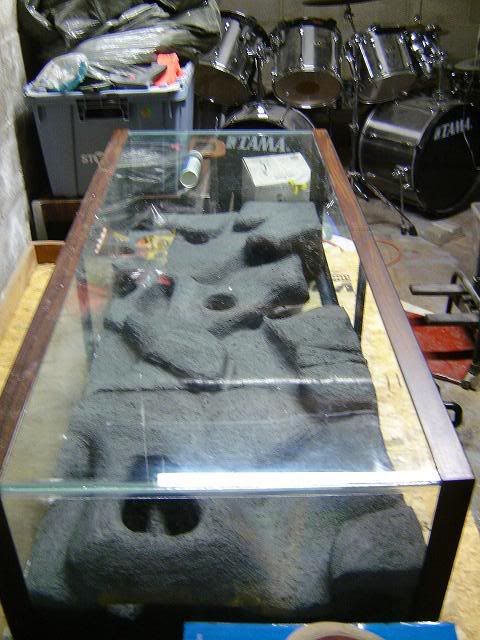
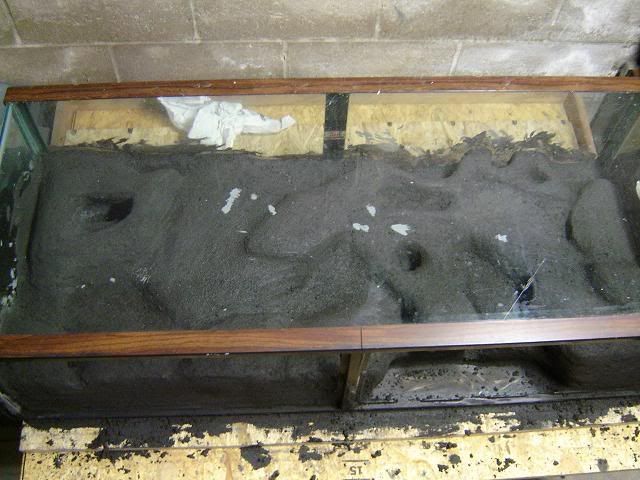
Here's a small update, I couldn't wait until tomorrow to put them up into position like the other photo's, this mixture was a little different and isn't curing quite as fast but I think it took it to a whole new level.. :D

I'm hoping that I can manage to run sand as the substrate using the single 30-60 HOB filter, most say to run double your needs but I simply can't cutout for another 30-60 now that the background is hard as a brick(literally lol!)

I think the solution for us will be a monthly stirring of the sand ontop of the bi-daily siphoning of the topwaste. Anyway's on with the pictures, sorry about the few blurry shots and all the shat in the background, it's a mess in the basement..


Edit; Forgot to mention that we got the rest of the tank's original silicone removed, I'll be taping and resealing it tomorrow if all goes as planned, then hopefully pass the leak test the following day and get the background isntalled and ready for the third and final coat of crete to fill the gaps and give everything some shading.

I'm on the hunt for waterproof LED's to possibly work into the caves pre-final coat, just so we can turn em on when checking for floaters and/or just watching the fish hide.
 

Last edited:

Stykman

Medium Fish
Mar 12, 2008
87
0
0
Aston, PA
#8
That Background you're building is "FREAKIN' AWESOME"!!!

Not for anything, but I would LOVE to see step by step how you did it. Maybe even post the instructions in the DYI Section.

Can't Wait to see the finished product in the tank.
 

MikeS

Large Fish
Oct 5, 2006
328
0
0
Nor Cal
#9
Looks GREAT!!!!!! That even sparked an interest in tearing down the 210 :)eek:) to make one.


Ditto on the trumpet snails. Now if you plan on clown loaches, they will dig them up and eat though. I throw some in my tank every now and then for the loaches and puffer. Kinda cool to watch the loaches hunt them down.
 

Last edited:

TwistedGA

Large Fish
May 24, 2008
106
0
0
Paducah, KY
#10
hehe, thanks a lot guys!

I didn't bother having a second set of hands to take pictures of every step in the process, but I think it's more of a "go with the flow" type project. I think I have enough pictures to do a DIY on it though.

The day I started carving was definately the most nerve racking because I'm not much of an artist, or atleast a very impressive one. I'll try to have it writen up and added to the DIY section by tonight.. Thanks again for all the kind comments guys!
 

TwistedGA

Large Fish
May 24, 2008
106
0
0
Paducah, KY
#11
It's not much of an update, just howing all three sections setup as they would be in the tank. I can't wait to get this thing resealed and the background in, seems like it's been a year long process but it's only been a week, lol. I'l snag some pictures tonight of the resealing process. :D
 

Last edited:

TwistedGA

Large Fish
May 24, 2008
106
0
0
Paducah, KY
#12
Well, it's not much of a pictorial update yet, but I figured I would post that the tank is officially resealed and leak free. As soon as we get the tank drained back out we'll start installing the background and getting ready for the last coat of mortar.

We still haven't decided for sure on what shade we want to go with on this coat, but I belive we'll be leaving it fairly close to the last pictures shown. I think with water on it, sand contrasting against it and the right lighting, it will give it more of a true rockunderwater feel than the lighter shade we used on the first coat.

Any thoughts or opinions on this are more than welcome... :D
 

TwistedGA

Large Fish
May 24, 2008
106
0
0
Paducah, KY
#13
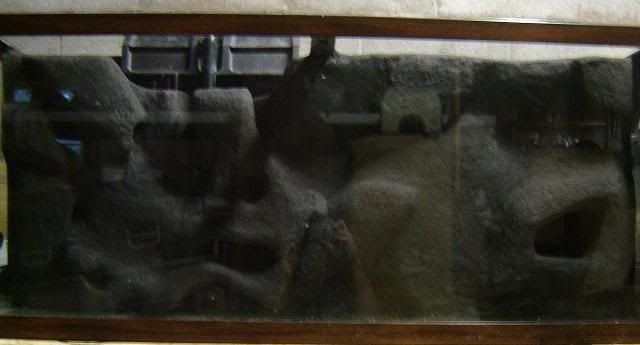
Here's a shot of the background fitted into the tank. Plan was to lay the third and final coat of mortar but after checking the supply of color additive, we've hit a snag until tomorrow. I'll post more pictures of it once the coat goes on, so freakin excited I can't wait to not be able to put fish in it for several weeks... lol :rolleyes:


TwistedGA

Large Fish
May 24, 2008
106
0
0
Paducah, KY
#15
It's a lot harder to get pictures of it once it's in the tank, but here's another shot of it just a few minutes after laying the third and final coat. It went fairly smooth, definately not as easy as the first two, but I didn't really expect it to be. Anywho's, enough babble..


TwistedGA

Large Fish
May 24, 2008
106
0
0
Paducah, KY
#16
Edit;
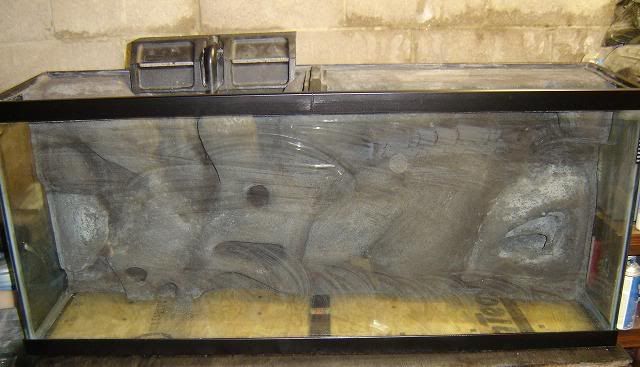
Forgot I had pictures of the background after setting it back upright, cleaning, and test fitting the HOB filter again. I forgot to turn on the second row of lighting in the basement for pictures so it's a little dark.. I'll get some pictures as soon as we get water in it and our lighting figured out. Thats gonna be a few days now that we have the new project.. Info below. :D


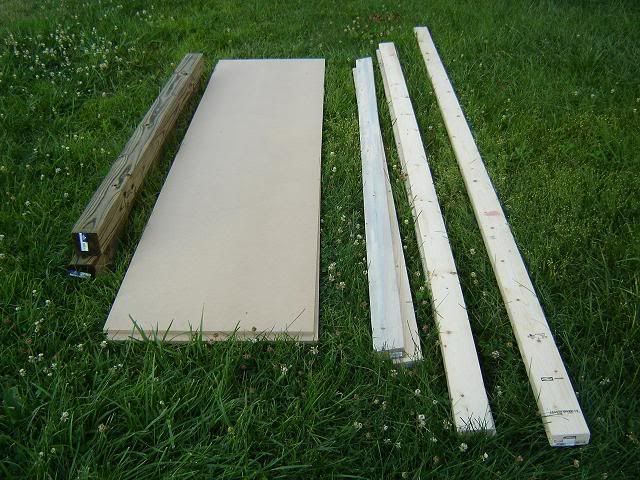
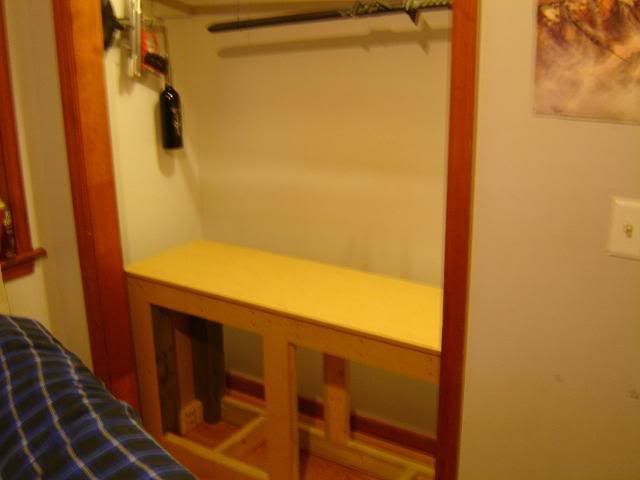
Did some looking and measuring today and decided that none of the places we had in mind for setting the tank up, none were suitable for our needs. So we made a trip to Lowes and ended up buying 49 bucks worth of lumber to build a stand for this beast with the capability to add a sump/refuge setup and ditch the HOB AquaTech for a HOB overflow. Eventually that is, no big rush on that after the background and this though. On with the pictures of the lumber.


From left to right;
2- 4"x4"x6' Treated(they dont sell untreated at my lowes) - $6.38ea
1- 1/2"x49"x97" MDF Board - $17.91
2- 2"x4"x8' Untreated - $2.98ea
2- 2"x4"x10' Untreated - $3.19ea
1- 2"x4"x12' Untreated - $3.73

These materials are enough to get the stand in the state we need to start setting up the tank. Basically the only other things we will need are hinges, handles, wheels and more MDF board to skin the stands frame. This thing is gonna be kind of overkill but I figure strength is a risk I don't want to take and I really didn't spend that much extra to alter the plans I found online. When I get some time I'll draft them up in solidworks and render them for anyone that wants. More updates soon hopefully.. :D
 

Last edited:

TwistedGA

Large Fish
May 24, 2008
106
0
0
Paducah, KY
#17
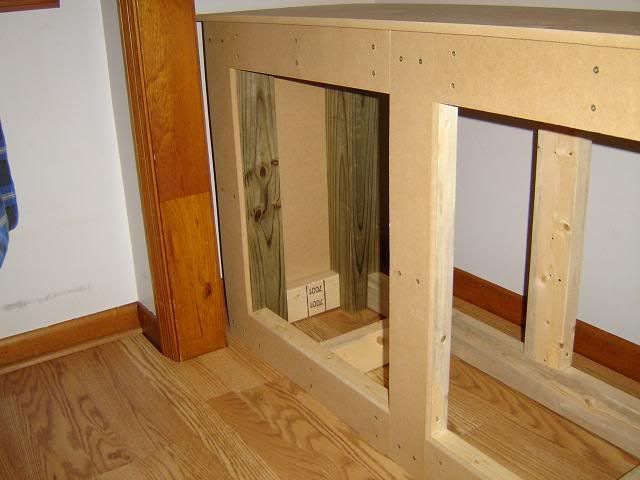
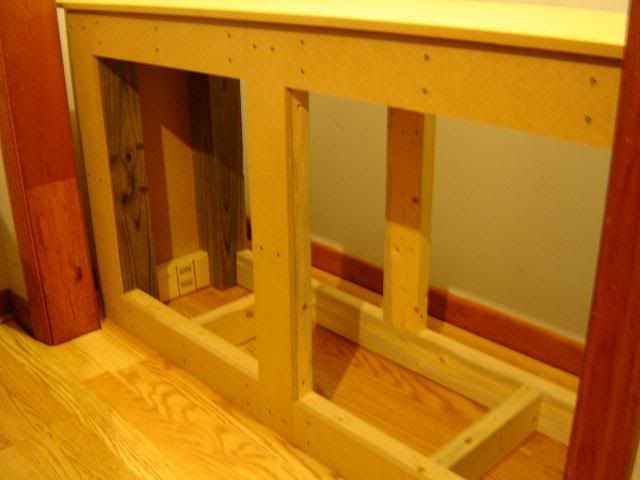
Well, yesterday was a long day of finishing work, I pretty much had everything but the 4x4's and the outer skin done after the first night of working. I didn't have any batteries until late last night so I didn't get any shots of it coming together, just the 75% status it's in right now. Plans for today are to get the doors cut and start figuring out how I want to trim it and what color/type of laminate I want to use on it. On with the pictures;


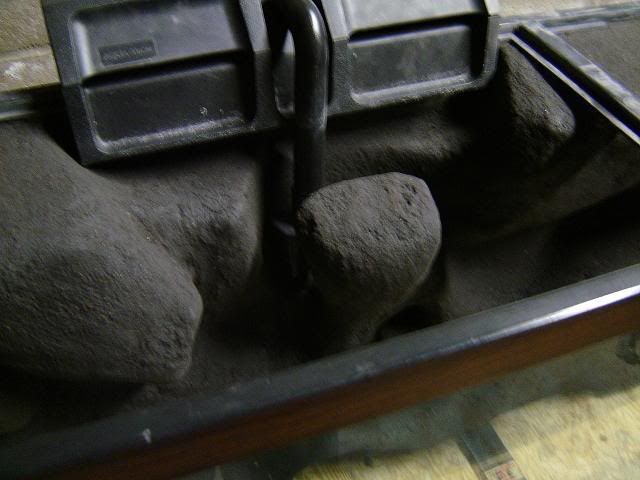
Also I had tapped up the sides and front of the tank to coat the ugly woodgrain trim with some nice semi-gloss black, I also taped up the sides of the tank where the mortar had filled the gap on the sides on the third coat. We ended up with this;


The lightspots you see on the background are areas that are fully cured. Once the entire thing looks like this, all vapors and chemicals are expelled and it simply needs to be rinsed well. It can sometimes take weeks and even into a couple months to finish curing concrete.
Most concrete can cure under water so I belive we'll be setting it up before it all cures, but no fish will see the tank until we can get our water quality where it needs to be, be it a week or a month(my g/f will not! rush me on this, lol).
 

TwistedGA

Large Fish
May 24, 2008
106
0
0
Paducah, KY
#18
Another update..(if anyone even cares)..heh

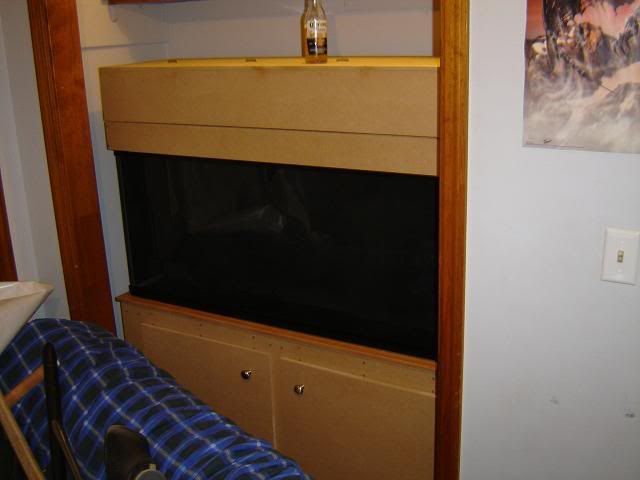
I finally finished up work on both the stand and canopy. The only really costly things remaining are finding the coatings we want for it and lighting, we did decide on doing all black woodgrain and a traditional woodegrain on just the tank platform. Luckily Lowes had the tradition woodgrain, we're gonna order the black on the net since local doesn't look promising.

Here's the pictures of how it sits now, we ended up with a 38 gallon tank after the background which still gives us enough room for plenty of fish (atleast 38" collectively from what ive always heard). Currently our limited space doesn't allow for the sides of the tank to be viewable but in the chance we get more room, they should be pretty cool.